GTK File-sharing User Interface
This chapter describes first steps for file-sharing with GNUnet. To
start, you should launch gnunet-fs-gtk.
As we want to be sure that the network contains the data that we are looking for for testing, we need to begin by publishing a file.
Publishing
To publish a file, select "File Sharing" in the menu bar just below the "Statistics" icon, and then select "Publish" from the menu.
Afterwards, the following publishing dialog will appear:
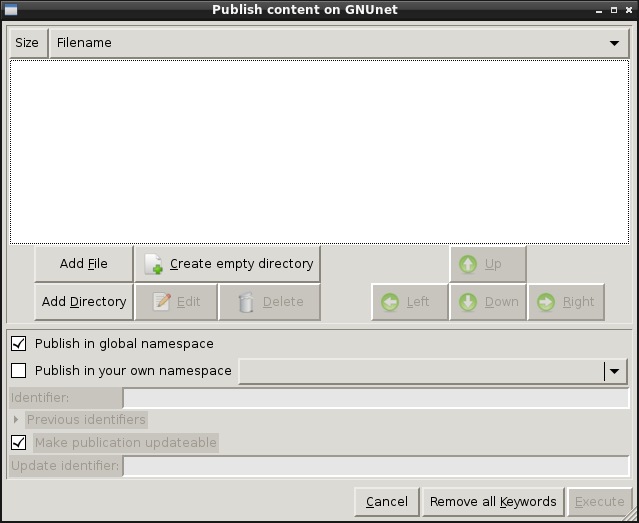
In this dialog, select the "Add File" button. This will open a file selection dialog:
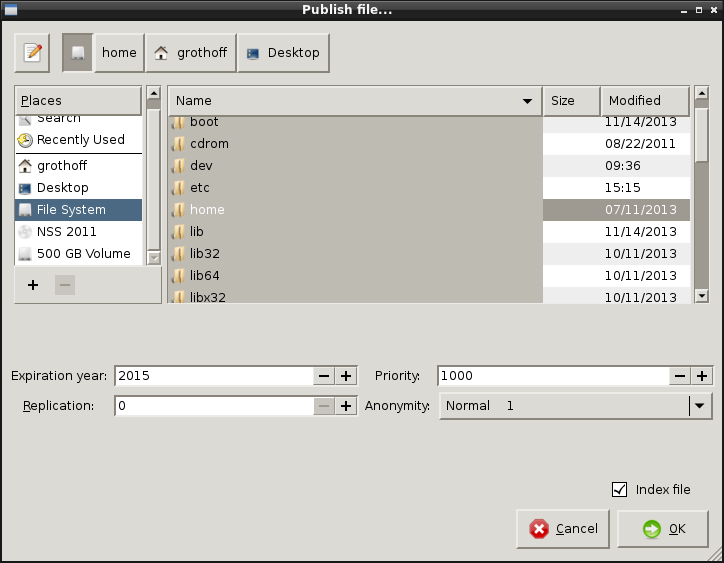
Now, you should select a file from your computer to be published on GNUnet. To see more of GNUnet’s features later, you should pick a PNG or JPEG file this time. You can leave all of the other options in the dialog unchanged. Confirm your selection by pressing the "OK" button in the bottom right corner. Now, you will briefly see a "Messages..." dialog pop up, but most likely it will be too short for you to really read anything. That dialog is showing you progress information as GNUnet takes a first look at the selected file(s). For a normal image, this is virtually instant, but if you later import a larger directory you might be interested in the progress dialog and potential errors that might be encountered during processing. After the progress dialog automatically disappears, your file should now appear in the publishing dialog:
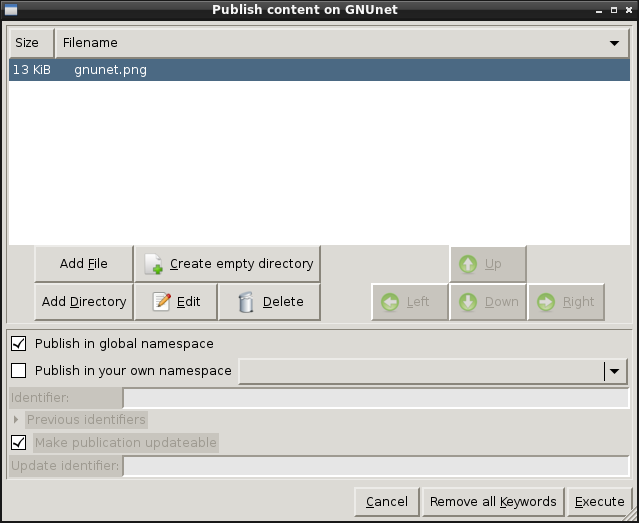
Now, select the file (by clicking on the file name) and then click the "Edit" button. This will open the editing dialog:
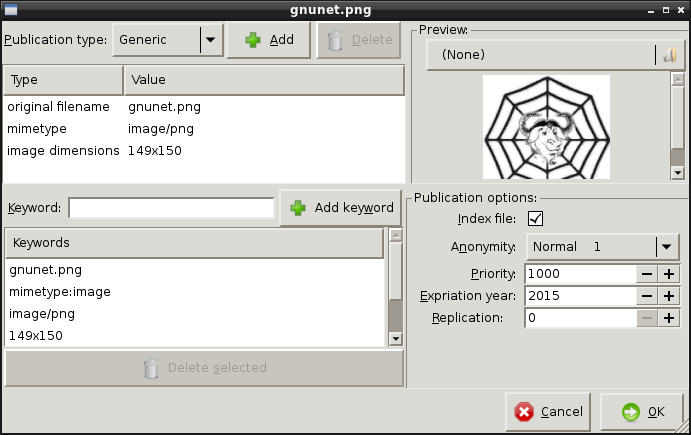
In this dialog, you can see many details about your file. In the top left area, you can see meta data extracted about the file, such as the original filename, the mimetype and the size of the image. In the top right, you should see a preview for the image (if GNU libextractor was installed correctly with the respective plugins). Note that if you do not see a preview, this is not a disaster, but you might still want to install more of GNU libextractor in the future. In the bottom left, the dialog contains a list of keywords. These are the keywords under which the file will be made available. The initial list will be based on the extracted meta data. Additional publishing options are in the right bottom corner. We will now add an additional keyword to the list of keywords. This is done by entering the keyword above the keyword list between the label "Keyword" and the "Add keyword" button. Enter "test" and select "Add keyword". Note that the keyword will appear at the bottom of the existing keyword list, so you might have to scroll down to see it. Afterwards, push the "OK" button at the bottom right of the dialog.
You should now be back at the "Publish content on GNUnet" dialog. Select "Execute" in the bottom right to close the dialog and publish your file on GNUnet! Afterwards, you should see the main dialog with a new area showing the list of published files (or ongoing publishing operations with progress indicators).
Searching
Below the menu bar, there are four entry widges labeled "Namespace", "Keywords", "Anonymity" and "Mime-type" (from left to right). These widgets are used to control searching for files in GNUnet. Between the "Keywords" and "Anonymity" widgets, there is also a big "Search" button, which is used to initiate the search. We will ignore the "Namespace", "Anonymity" and "Mime-type" options in this tutorial, please leave them empty. Instead, simply enter "test" under "Keywords" and press "Search". Afterwards, you should immediately see a new tab labeled after your search term, followed by the (current) number of search results — "(15)" in our screenshot. Note that your results may vary depending on what other users may have shared and how your peer is connected.
You can now select one of the search results. Once you do this, additional information about the result should be displayed on the right. If available, a preview image should appear on the top right. Meta data describing the file will be listed at the bottom right.
Once a file is selected, at the bottom of the search result list a little area for downloading appears.
Downloading
In the downloading area, you can select the target directory (default is "Downloads") and specify the desired filename (by default the filename it taken from the meta data of the published file). Additionally, you can specify if the download should be anonymous and (for directories) if the download should be recursive. In most cases, you can simply start the download with the "Download!" button.
Once you selected download, the progress of the download will be displayed with the search result. You may need to resize the result list or scroll to the right. The "Status" column shows the current status of the download, and "Progress" how much has been completed. When you close the search tab (by clicking on the "X" button next to the "test" label), ongoing and completed downloads are not aborted but moved to a special "*" tab.
You can remove completed downloads from the "*" tab by clicking the cleanup button next to the "*". You can also abort downloads by right clicking on the respective download and selecting "Abort download" from the menu.
That’s it, you now know the basics for file-sharing with GNUnet!